Tuesday, August 7, 2012

Diana Banana Bread Mini's


Dirty is just one of the many nicknames I've acquired over the years. One of the original nicknames I had was...you guessed it... Diana Banana given because of my bleach blonde banana curled hair. Why would you would call a curl in your hair after a fruit I have no idea but I digress.

This has become one of my favorite items to bake- not only is it simple and sweet but it's a forgivable batter that allows room for error and improvisation. Basically you can't mess it up unless you try, so please don't :)

 Remember the more ripe and gooey means the better ingredient for Diana Banana Bread.


This is the fun part- peel and mash the bananas! I use my hands but that's why I'm Dirty ;) 

Next add 10 tablespoons of MELTED butter- a nice mug full. 


I used my coffee mug to melt the butter via microwave. 

And mix...


Add brown sugar


Two beaten eggs + vanilla extract.


Sprinkle cinnamon and baking soda- think fairy dust.


Three cups of flour- don't they look pretty?


Mix, mix, mix! 


Now that your batter is prepared it's time for Dirty's Little Secret.... 


Dark. Chocolate. Morsels. 
*Note morsel NOT chip = chip on steroids


Nom. Nom. Nom. 

Next prepare the vessels! 


I know it's not fall but this pan makes the perfect mini sized Diana Banana Bread!


And because I made A LOT I used my silicone cupcake liners to make even more! 


Bake at 350 for 20 minutes or until a knife comes out clean from the center. 


Remove from pan to cool completely before... 
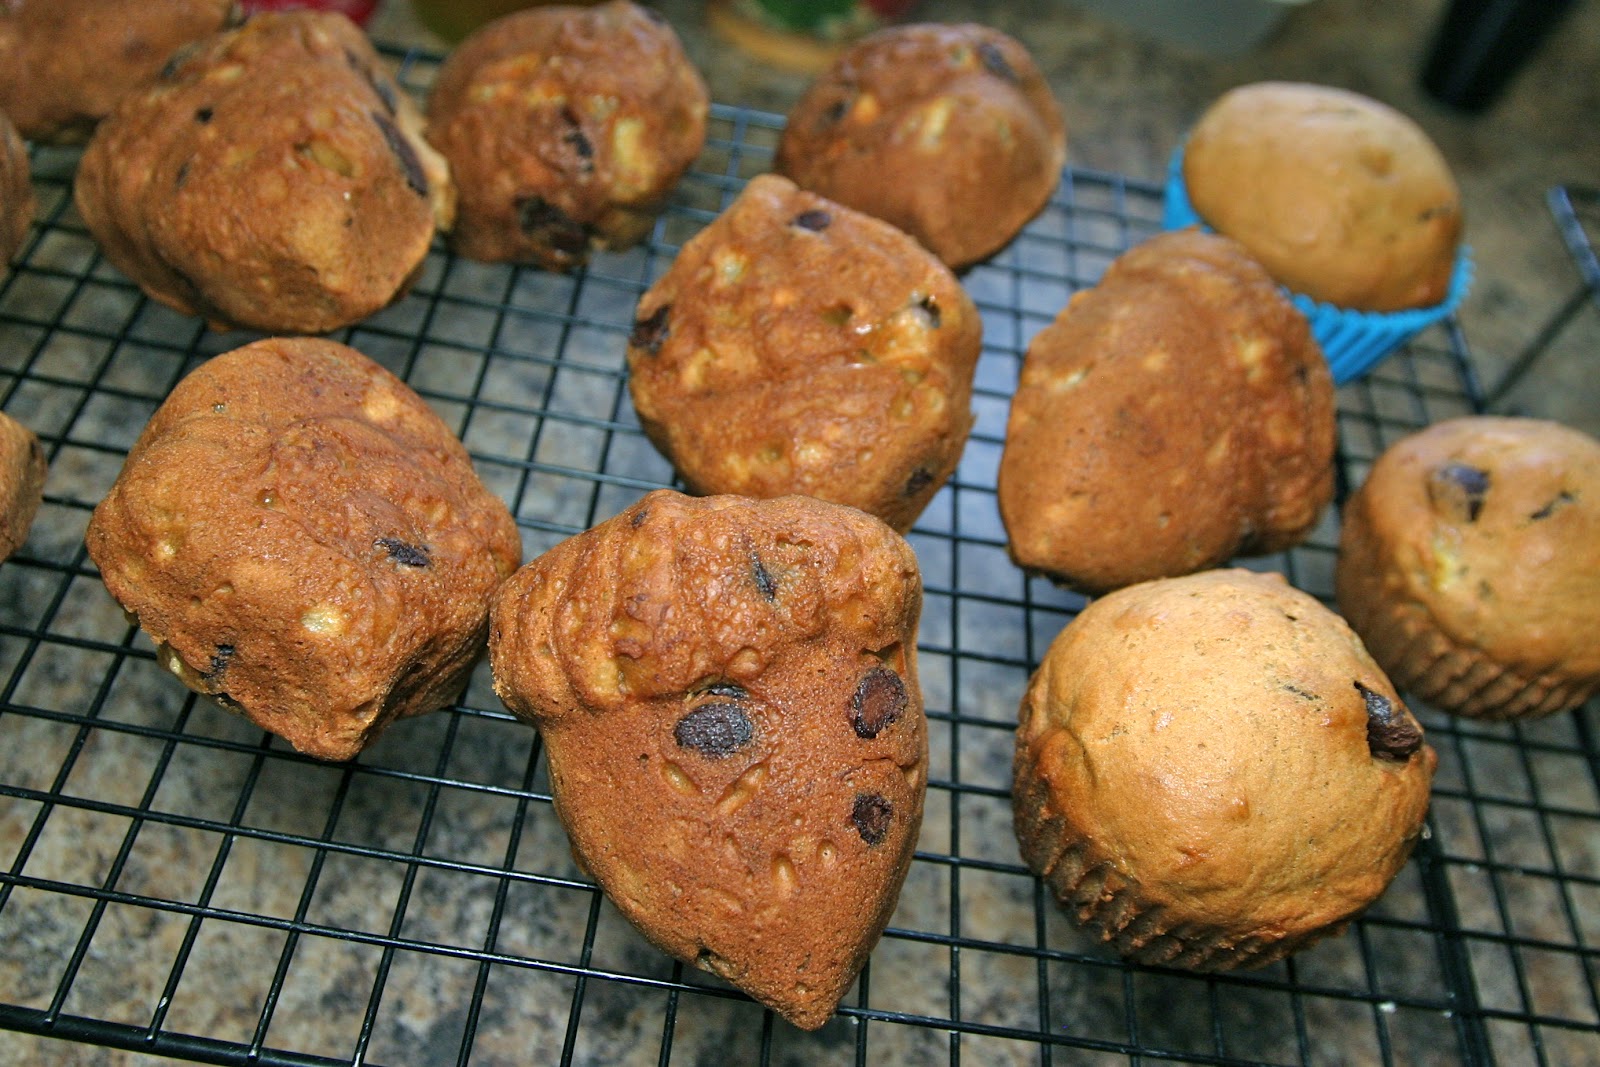

Gift wrapping! My talented friend and owner of LaRose Media is road tripping to Colorado to film a wedding and I wanted to make something she can snack on on the way out. Hopefully these Diana Banana Bread Mini's make it past Chicago and she can snack in between filming :) 


Diana Banana Bread  *double batch
  • 6 very ripe gooey mashed bananas
  • 2 cups brown sugar
  • 10 tablespoons melted butter
  • 2 teaspoons vanilla extract
  • 2 teaspoons baking soda
  • 1 1/2 teaspoons cinnamon 
  • 2 beaten eggs
  • 3 cups flour
  • 3/4 package of dark chocolate morsels
Combine in a large bowl.
Mix with a wooden spoon.
Bake at 350 for 20 minutes. 


Tuesday, May 15, 2012

Gluten Free Oatmeal Chocolate Chip Cookies


I really can't take credit for the recipe of these, but I can take credit for their yummy execution!


To begin assemble all the ingredients...you will need:
  • Two eggs
  • Two sticks of butter
  • Two cups of brown (light or dark) sugar
  • Two cups chocolate chips (which ever brand strikes your fancy) 
  • Two and a quarter cups gluten free flour blend
  • Two cups gluten free oats
  • Teaspoon vanilla
  • Pinch of Cinnamon
  • Half teaspoon xanthum gum 
  • Teaspoon baking powder
  • Half teaspoon baking soda
Do not, do NOT, DO NOT forget the xanthum gum- I did once and the result was flat and disastrous. Kind of like the time my brother put an entire batch of cookie dough on one cookie sheet thinking they didn't expand once they baked! Ha ha needless to say he had one large, overflowing sheet pan of a cookie! 

Find original recipe HERE. 


Mo butta mo betta!


Mmm sugar... 


  Ok, ok I cheated and used store bought flour- not a bad brand to buy, just don't forget the xanthum gum! 
p.s. I also added and extra quarter teaspoon of x-gum since this mix didn't have any! 


Ghirardelli- mmm any version of their chips are amazing, milk-bittersweet-or semi-dark are all YUM and easily interchanged in this recipe. 


Last but not least the homemade vanilla extract for a real gluten free treat- vanilla beans soaked in rum! 

Then you can assemble your troops! I got these measuring cups from my Aunt Anita for Christmas, aren't they great? Each half is its own size!


Color-always.


As with almost any cookie making process you first have to cream the butter and sugar, then adding in eggs and vanilla. 


Then slowly add...


Flour.


Oats.


Chips.


Don't be afraid to get a little messy!


Ants love me. 

Then we get our hands Dirty Style- dig deep and roll 1 to 1 1/2 inch dough balls. 


I have a problem with size..


I always start at the 1 inch diameter and slowly my cookies just get larger...and larger..my inner fatness coming out! 


Then bake at 350 degrees F for...8 to 12 minutes- this depends on your oven- always set the timer for the lesser amount of time and check- there is no undoing a burnt cookie! So you sit around in your pajama bottoms and funky apron and wait...or is that just me? :) 


**A good rule of thumb for these cookies is to let them cool for a few minutes on the baking sheet before transferring them onto cooling racks. Because gluten free flour lacks the same elasticity qualities of its glutenous counterpart fresh out of the oven they break and tare easily. 


As always I wrap, bow, and give away! These went to a going away party for the chiropractic assistant at Guilderland Family Chiropractic where I now work, and to Schotts Boxing. Sadly the boxers in training can't eat such treats- but it doesn't mean the trainers and people like myself who go for a good work out can't! I must admit I didn't feel quite so guilty after baking and eating some of these that day since the workout was so intense! 

Life's all about balance - work hard- play hard and ENJOY!


Friday, April 27, 2012

Gluten Free Granola - A Great Way To Start The Day!

I don't know about you but BREAKFAST is my favorite meal of the day. If I don't have some food in my belly and coffee in my hand within an hour of waking up I start to get HANGRY- you know Hungry + Angry.

Because breakfast is a meal I NEVER skip sometimes I fall into a rut of eating the same thing day after day- yogurt...yogurt...some more yogurt... I mix up the fixings but still change is good right?

So two things happened last week First: My allergies were bothering me so much that a holistic healing friend of mine suggested I drop dairy from my diet for a week- YIKES! Second: I needed to make a yummy but fulfilling replacement for my yogurt.

My strategy for making granola basically consists of what I would like to eat and what I have available in my bulk foods shelve (yes I have one) to mix in.


These are a few jars from that shelve placed on my window sill for better lighting. Starting far left we have raw sunflower seeds, center is a mix of dried cherries and cranberries, and far right are almonds two ways- blanched and slivered and raw whole almonds. 


As the label says here is some organic Blue Agave for some wholesome sweetness! (and low glycemic impact) 


Now for some extra sweetness and flavor REAL yes R-E-A-L Maple Syrup. Please do me a favor- if you have any fake or imitation Maple Syrup stop reading this post, walk to the kitchen and throw it in the garbage! Growing up in the Catskills I was blessed and privileged to always have friends and neighbors who made the real stuff so I've sort of become a snob for the pure, wholesome golden syrup. 


I'm not excited about adding oils to my food but since the granola needs some saturation before the baking process I choose a healthier option over straight vegetable oil.


Now- the STAR of the show- the Gluten Free Oats! Honestly I do not know what I would do if I could no longer eat oatmeal or granola or oatmeal chocolate chip cookies made with oats- cry maybe?

Once I've raided my cabinets and collected all items I lay it all on the line. Notice I have no recipe for this granola rather an assembling of ingredients because I like to use my accurate and official eyeball/proportion method :)


The fun part about making your own granola is it's all about your preference- feeling nutty? Add more nuts- need more tart, sweetness in your life- add more dried cherries! Experiment and have fun with it! 

When the dry ingredients are in place it's time to SPICE IT UP ! For this batch I kept it VERY simple by adding a teaspoon of cinnamon- my favorite all-purpose spice. 


Pretend you are Tinker Bell and SPRINKLE it like fairy dust over the dry ingredients and TOSS all the ingredients to blend the spice.

NEXT - Pour the wet ingredients over the pile of soon to be granola- once again I eyeball this but if I HAD to put quantities I'd say a 1/4 cup each of the Maple Syrup and Blue Agave- then 1/2 cup canola oil.

Mix it all up- I prefer to use my hands because I enjoy the sticky, textured mess feeling between my fingers.


Once you have everything incorporated pat the mixture flat on a foil lined baking sheet and bake at 325 degrees for 15-20 minutes. 

TIP: Spray foil with a nonstick spray to ensure the granola doesn't stick!

AGITATE the granola while baking! Mix ingredients every 5 minutes to ensure an evenly toasted awesomeness!


Mmmm the finished product, note the color change- not just my photoshop editing :) 


The last step of any recipe is to ENJOY it! The great part about granola is how versatile it can be, on it's own, over milk, under HOT milk, or mixed with yogurt. 

Featured above I took my new favorite breakfast fruit- Kiwi- along with a banana and some soy milk (since I gave up dairy) and enjoyed a wholesome diary and GLUTEN Free breaki! Yum! 

Happy eating!